
SEVEN DAY CYCLIST
CYCLING, BUT NOT USUALLY RACING
LATEST UPDATE July 1 2026
HOW DO WE REACH THE OVERALL RATINGS FOR PRODUCTS WE REVIEW?
THIS SITE USES GOOGLE ANALYTICS TO ANALYSE TRAFFIC. CONTINUING TO USE THIS SITE MEANS YOU ACCEPT THE USE OF COOKIES.WE DO NOT COLLECT PERSONAL DATA LEARN MORE OR SEE OUR PRIVACY POLICY
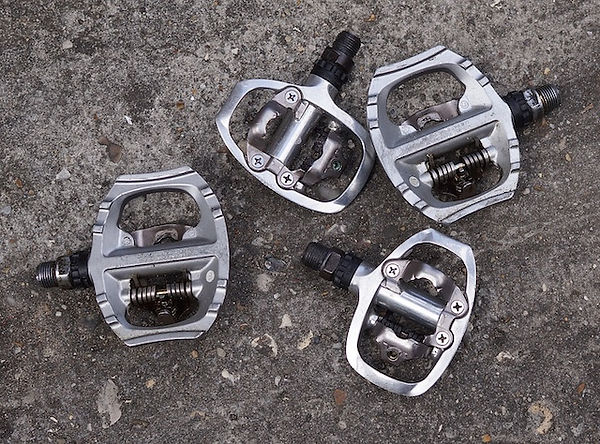
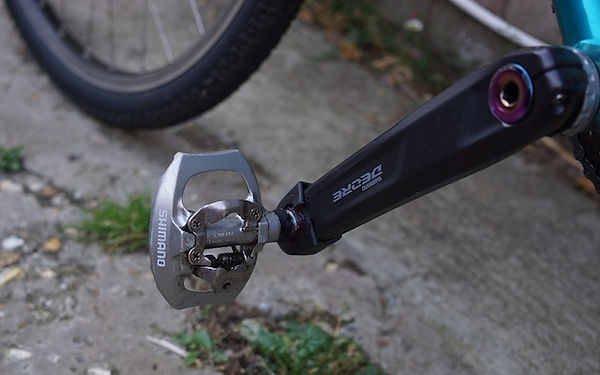
Ten Minute Tune Up: Simple Pedal Overhaul
Pedals are crucial contact points and tend to lead hard lives. However, with some basic little and often care, you’ll extend their lifespan considerably. It’s possible to strip and repack a pair of pedals in ten minutes, or so. Don’t wait until the bearings or axles are toast!
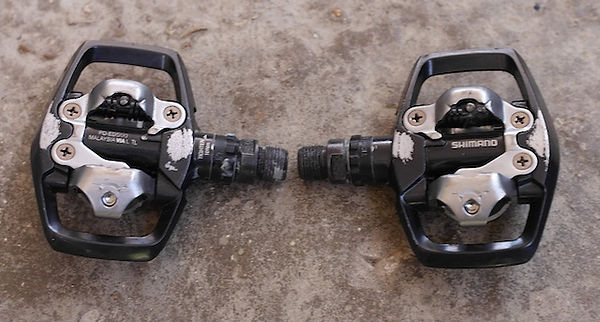
I’m focusing on quick, preventative maintenance, rather than repair, or full service. Shimano are the main focus, but the principle applies to other brands. Some patterns will open using Shimano, or more generic tooling, but this varies, so read the instruction manual for your specific brand and model before you tear them down.
Basic checks
Give the pedals a spin, are they turning freely and without any slop in the bearings? If they’ve reached the wobbly state, ordering replacement ball, or cartridge bearings before you begin and ensure you have the correct tools to open them up. Don’t risk chewing the axle locknuts by using an ill-fitting spanner, or (gulp), maul grips.
Tools & getting started
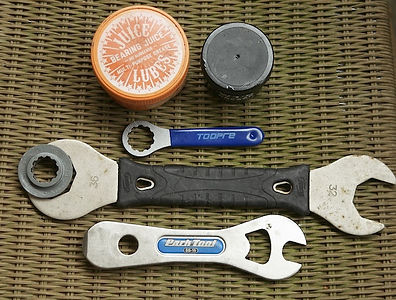
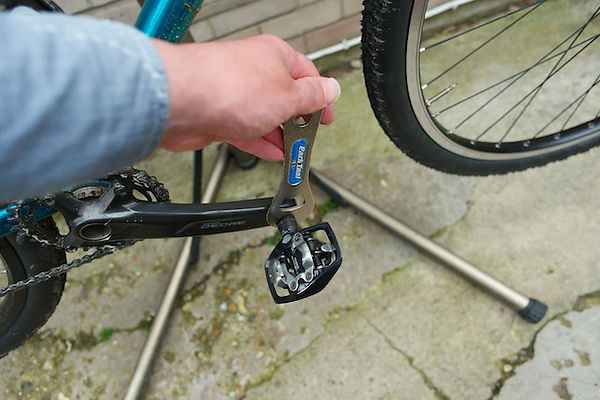
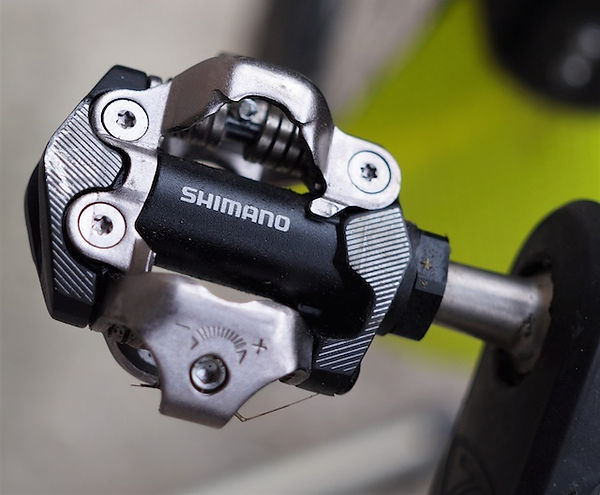
Take a look at your pedals. They will attach to the cranks via a 15mm spanner (such as this Park Tool SS-15 Single Speed Spanner or 8mm Allen keys. You’ll also need a 36mm headset wrench (a large adjustable will also get the job done) to command the TL-PD40 SPD Axle Removal Tool. These can be had for £2 or so. Alternatively, alloy models with integrated handles are more refined.
Higher end Shimano models, such as these XT, employ a 17mm spanner.
Depending on the pedals age and condition, a vice (a portable unit) comes in handy while you get busy with the spanner. Not essential, though. Spoiler alert, I was able to release these 35-year-old Shimano M737 with only the resin tool and a 36mm spanner. You’ll also want some solvent, rag and fresh grease.
In some respects, any water-resistant formula will do. I lean towards synthetics, since there’s no risk of seals and other delicate components getting eaten, or similar compatibility woes. Blends such as Peaty’s Speed Grease will offer reduced friction and in my experience is surprisingly durable.
A great choice for time trialists and other racers- I use it on Hollowtech II crank axles but when it comes to pedals and hubs, I prefer something stodgier. Juice Lubes Bearing Juice is my go-to for hubs, headsets and pedals-particularly on four seasons, or winter specific bikes. However, it’s not ideal for threads, so use an assembly type, such as Oxford Mint Assembly Grease gets applied to the pedal threads when reintroducing them to the cranks. I’ve also used this Wolf Tooth WTG, since its versatile-axles, bearings and threads.
Talking threads, don’t forget that pedals are left and right threaded. A quick blast of maintenance spray is always useful for stubborn threads and lockrings.
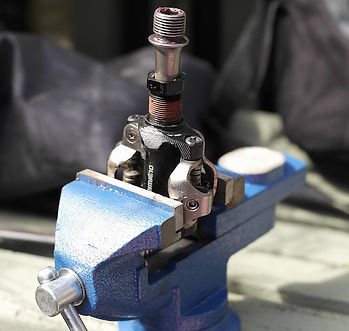
Stage 2 Remove the lockring & axle
As with the pedal threads, these are also left and right hand specific. The TL-PD40 SPD axle remover gives clear directions but there’s usually a tighten arrow etched on the pedal body. Turn the other way to release.
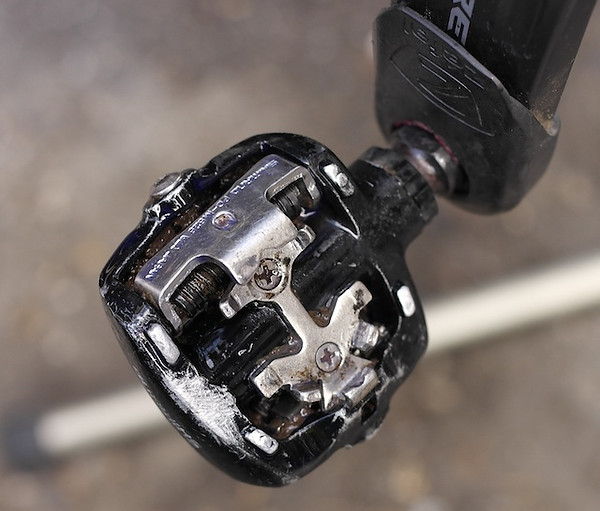
The Deore XT were a little stubborn, hence my little portable vice to hold the bodies still. You want to hold them snug, not strangled into submission. Add a little maintenance spray for good measure and though a little resistance will be palpable at points, it and the pedal axle should come away smoothly. Now give the axle a quick solvent and clean rag wipe to remove any contaminant and old, residual grease and check for any corrosion, bent axles or similar trouble.
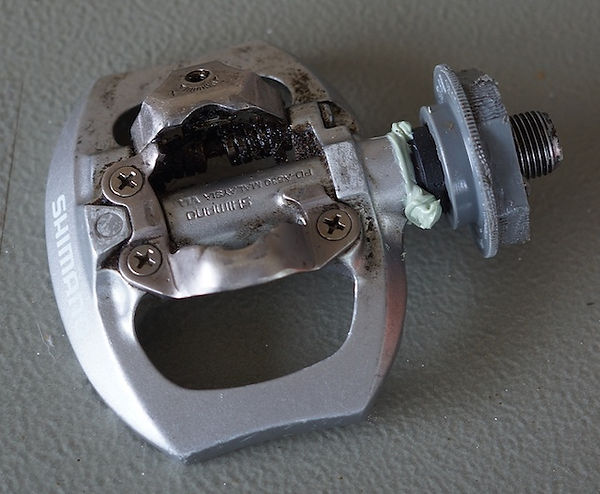
Stage 3: Inspect the body
Should you need to adjust, or replace the bearings, you’ll need an 8 and 10mm spanners for the cone and bearing locknut, magnetic screwdriver and compatible replacement bearings. You cannot switch to cartridge bearings from balls and vice versa. A magnetic tool bowl/tray is another worthwhile investment if you’re working with bearings and other small parts. Otherwise, give bodies a wipe to prevent anything gritty getting pushed inside.
Stage 4: Repack & reassemble
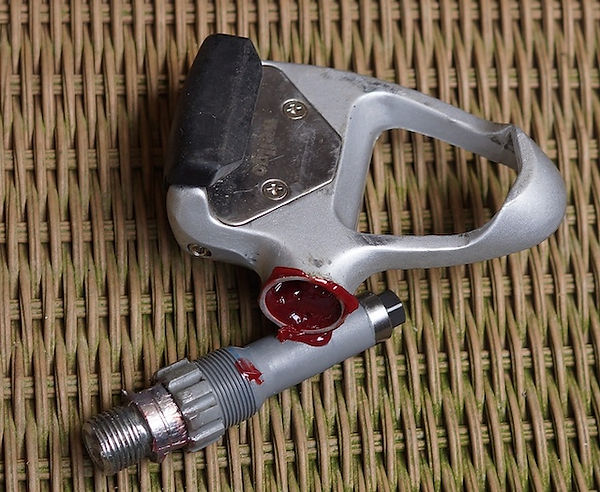
Now pack the body with a liberal dollop of your chosen grease, applying any excess to the axle and refit in the body, taking care to observe correct left/right threading. That aside, you may experience resistance when inserting the axle. The grease can create a pocket of resistance, so just press until it slurps into position.
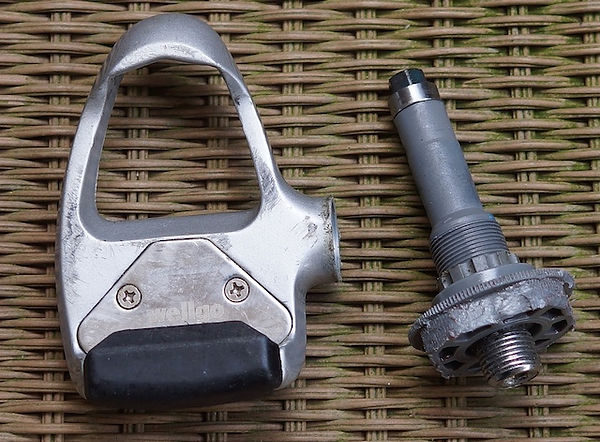
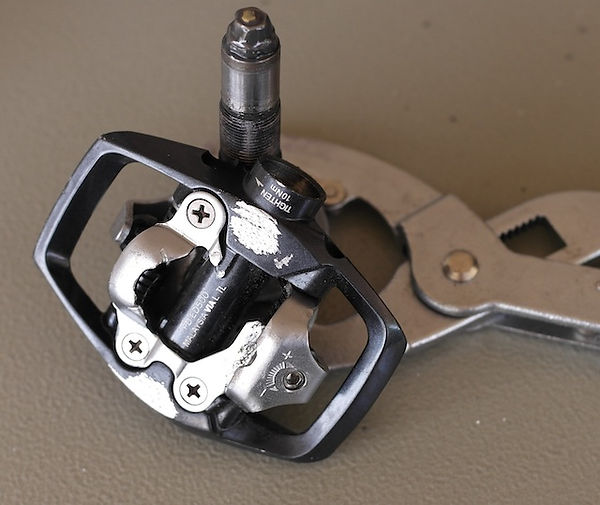
Snug down to 10nm and watch as any old, residual dirty grease is forced out - much like it does on components with grease ports. I was astounded by how barren the Wellgo were internally, so was suitably liberal with the rich, red WT-G Precision Bike Grease.
These Shimano A520, A530 and ED500 hadn’t been opened in several years, so I wasn’t surprised to find the factory stuff oozing out like a stocky gravy but was still doing its things and the bearings in great shape.
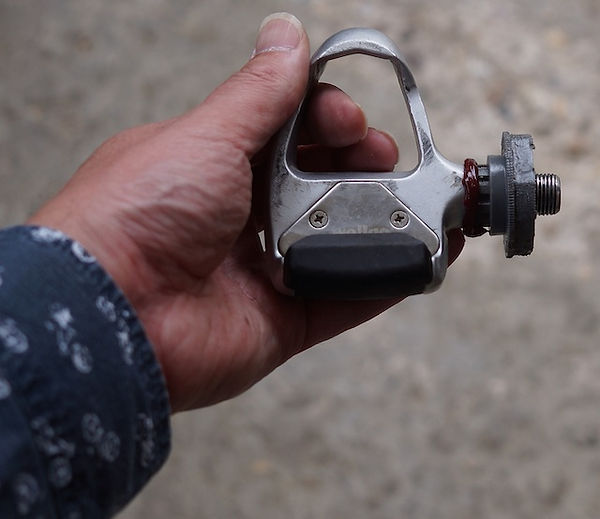
Having exorcised this demon, wipe away any excess, spin the bodies and rejoice in the buttery smoothness. Repeat with the other side and refit to the cranks.
Start to finish, I’ve had a pair of pedals stripped, repacked and refitted in fifteen minutes. A simple, satisfying job with the right tools and will repay this minimal investment with smoother pedals and extended bearing life.
Michael Stenning
PUBLISHED AUGUST 2025


